Understanding MTB Suspension Basics
Mountain bike (MTB) suspension can feel like a maze. You’ve probably heard a bunch of terms thrown around: sag, rebound, compression. It’s enough to make anyone’s head spin! But understanding these concepts is crucial for getting the best performance out of your bike. So, let’s break it down.
What is MTB Suspension?
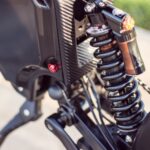
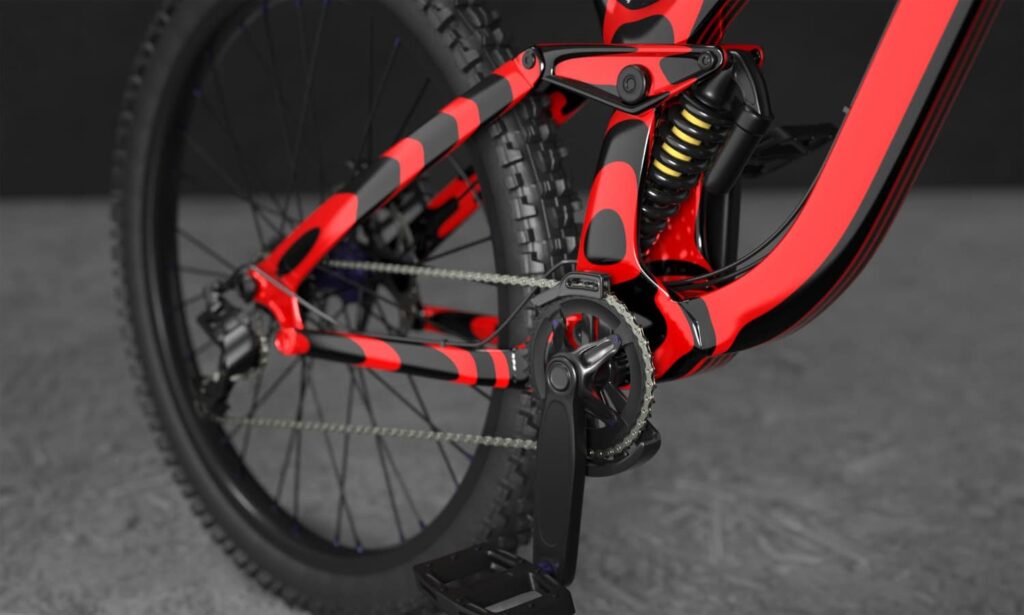
MTB suspension absorbs shock from the terrain, letting you ride smoother and tackle rugged trails with ease. It usually comes in two forms: front suspension, which includes the fork, and rear suspension, which is in the frame. The right setup makes a significant difference, enhancing your control, comfort, and speed.
Why is Suspension Setup Important?
When your suspension is set up incorrectly, it can negatively affect your ride quality. If it’s too soft, you’ll bottom out on every bump; too stiff, and you might bounce off every rock like a pogo stick. Fine-tuning your suspension based on your weight helps maintain that sweet spot of balance and control.
Getting Started: Tools You’ll Need
Ready to dive into the world of suspension setup? Grab these tools before you start:
- Shock pump – This specialized pump allows precise air pressure adjustments.
- Measuring tape – To measure sag and other key metrics.
- Scale – Useful if you want to weigh yourself accurately.
- Wrench – To adjust any bolts on your bike.
Setting Sag: The Foundation of Good Suspension
Before you can get fancy with your settings, you need to set your sag. Sag is how much your bike sinks when you are on it, and it’s critical for proper suspension performance.
How Much Sag Do You Need?
The ideal sag varies depending on the type of riding you do:
- Cross-country (XC) – Aim for 20-25% sag.
- All-mountain – Generally, 25-30% sag works well.
- Downhill – You might want up to 30-35% sag to handle more aggressive terrains.
Measuring Sag
Here’s how to measure it:
- Get your bike to a flat surface and stand it up.
- Without your weight, measure the distance from the axle to a fixed point on the frame (like the shock or an upper link).
- Now, hop on your bike in your riding gear (don’t forget your helmet!).
- Measure the distance again while you’re on it.
- Subtract the loaded measurement from the uncompressed measurement. The difference will give you your sag.
If your sag is too little or too much, adjust the air pressure in your shock or fork until you find that sweet spot.
Compression Settings: Fine-Tuning Ride Feel
Once sag is sorted, it’s time to dive into compression settings. This controls how the suspension reacts to bumps.
Types of Compression
There are two main types:
- Low-speed compression – Controls how the suspension reacts to slow-moving obstacles, like roots and rocks.
- High-speed compression – Affects how the suspension handles big hits, such as drops or high-speed chatter.
How to Adjust Compression Settings
Most MTBs have knobs on the fork and shock to adjust compression. Start with everything in the middle range, ride a trail, and see how it feels. If the bike feels too soft on bumps, increase the compression. On the flip side, if it’s harsh over small bumps, dial it back a bit. Finding the right balance can drastically improve how your bike feels and responds when you ride.
Rebound Settings: Controlling the Bounce
Once you have compression sorted, let’s chat about rebound settings. Rebound controls how quickly the suspension returns after compressing. Too fast, and you get a bouncy ride; too slow, and the bike feels sluggish. Aim for a setup that feels balanced while riding in varied terrain.
Adjusting Rebound Settings
Again, start in the middle and test ride. Adjust it slightly, focusing on how your bike feels after hitting a deep hole or a series of bumps. You want it to return smoothly without launching you off the saddle!
Bringing It All Together: Final Adjustments
After fiddling with sag, compression, and rebound, you’re almost there! Now it’s time for some personalized tweaks.
Riding Style Considerations
Your riding style can dramatically influence your suspension setup. Here are a few points to think about:
- If you hit jumps frequently, you might want a bit more sag and softer compression to absorb impacts.
- For steep climbs, consider a firmer setup to keep from bottoming out.
- Downhill riders usually prefer a balanced setup to help absorb greater impacts.
Keep Learning and Adjusting
Every rider is different, and as your skills improve or change, so too will your suspension preferences. Ride often, and don’t hesitate to make adjustments as needed.
Conclusion
Setting up your MTB suspension takes time and patience, but the payoff is huge! A well-tuned suspension not only enhances comfort but also boosts your control, making those rocky trails feel like a walk in the park (kind of). Take the time to experiment with sag, compression, and rebound; you’ll not only improve your riding experience but also gain a deeper understanding of how your machine works. So go ahead, get out there, and have fun! You’ve earned it!