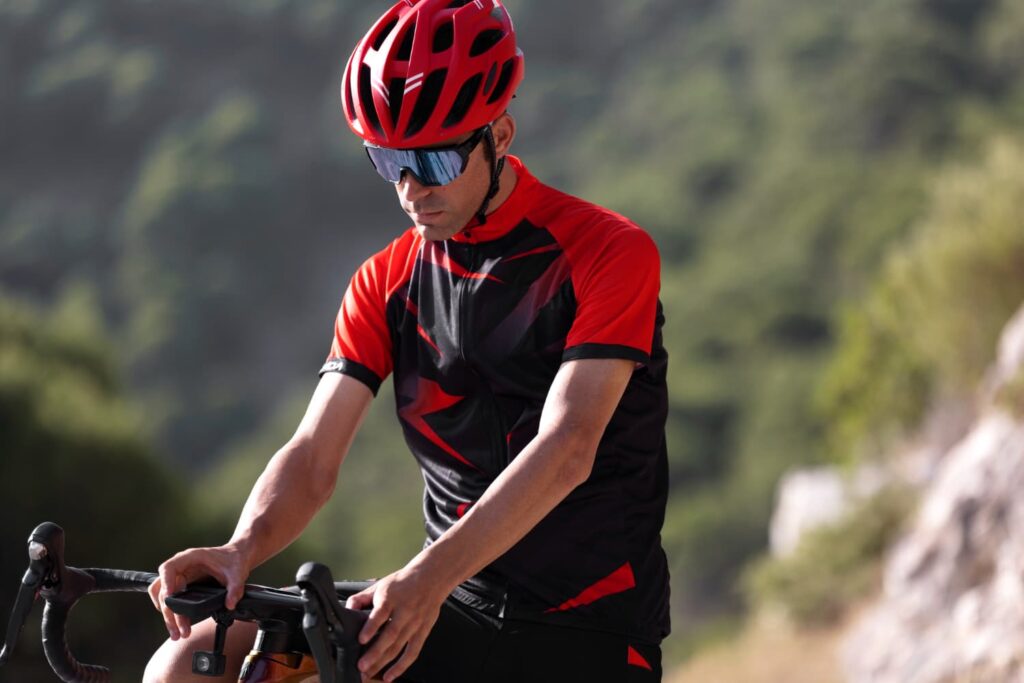
Understanding the Basics of Your MTB Cockpit
When it comes to mountain biking, dialing in your cockpit is crucial for both comfort and control. Your cockpit is essentially the space where you interact with your bike, including the handlebars, stem, grips, and saddle. Getting this setup right can make all the difference when you’re barreling down a rocky trail or climbing steep hills.
The Importance of Comfort
First off, let’s talk about comfort. You want to enjoy your ride, not spend the day in discomfort. If your cockpit is poorly set up, you might find yourself shifting around trying to get comfortable. This can distract you from the thrill of riding. A well-optimized cockpit setup keeps you in control and feeling good through every twist and turn.
When I first started mountain biking, my cockpit setup was all wrong. I remember struggling up a hill, only to realize my handlebars were too low, causing me to hunch over like I was about to take a spill. Let me tell you, it’s a lot easier to ride when your body is positioned correctly!
Components of Your Cockpit
Let’s break down the components that make up your MTB cockpit:
- Handlebars: The main control surface.
- Stem: Connects the handlebars to the fork.
- Grips: Provide a connection point for your hands.
- Saddle: Where you sit and balance your weight.
- Bar Height: Changes your riding position significantly.
- Reach: How far you stretch your arms when holding the handlebars.
Understanding these parts helps you make adjustments that can enhance your ride.
Adjusting Your Handlebars
Handlebar Height
The height of your handlebars plays a significant role in your overall riding position. If your handlebars are too low, you might find yourself leaning forward uncomfortably. Too high, and you risk losing control. Finding that sweet spot is key.
To adjust your handlebars, you’ll often need an Allen wrench. Loosen the bolts on the stem and raise or lower the handlebars to your preferred height. A simple test is to stand next to your bike and make sure the grips are at about the same height as your waist. This tends to provide a good baseline.
Handlebar Width
Next, let’s discuss width. Wider bars can offer more stability and control, especially on rough terrain. However, if they’re too wide, you might struggle to navigate tight spots. Personal preference plays a big role here.
To find your ideal width, take your shoulder width into account. A good starting point is to have the grips align with your shoulders. And remember, if you feel like you are constantly catching trees or bushes on your rides, it might be time to reconsider the width.
Finding the Right Stem
Stem Length and Rise
The stem acts like a bridge between your handlebars and your bike frame, so its length and rise can greatly influence your riding experience. A shorter stem can enhance maneuverability, which is especially helpful on technical trails. However, you lose stability at higher speeds.
A longer stem provides better stability but might make your bike feel sluggish. As with many things, it’s about balance. My current bike has a 50mm stem, and it’s perfect for my riding style.
Trial and Error
It’s important to experiment here. Try a different stem length and see how it feels. If something doesn’t work well for you, don’t hesitate to swap it out. It’s all part of the process of figuring out what is most comfortable for you.
Grips That Fit Like a Glove
Choosing the Right Grips
Now that your handlebars and stem are set, let’s move on to grips. Good grips can make a world of difference in how confidently you can handle your bike. Have you ever had grips that make your hands feel like they’re slipping off? It’s like trying to hold onto a wet bar of soap, and trust me, it’s not fun.
Consider the following when choosing grips:
- Material: Rubber or foam? Rubber grips tend to offer better grip but are less cushioned than foam.
- Diameter: A thicker grip offers more padding but can be harder to hold for some riders.
- Texture: A knurled surface can help provide extra grip.
Positioning Your Grips
Don’t overlook the placement of your grips. They should align with your wrists when your arms are extended. If your wrists are awkwardly bent while holding onto the grips, that could lead to discomfort on long rides. Trust me, your wrists will thank you!
Saddle: The Seat of Comfort
Finding The Right Saddle
Your saddle is arguably one of the most important components of your cockpit. An uncomfortable saddle can ruin a ride faster than you can say “flat tire.” There are multiple styles designed for different riding positions, from aggressive to relaxed.
I learned this the hard way after riding with a saddle meant for racing when I only cared about hitting trails. The pain was real. So, be sure to pick one that fits your specific style of riding. Look for features like:
- Width: Needs to support your sit bones.
- Padding: Depending on personal preference; some prefer firm seats while others want plush.
- Cutouts: Some saddles have cutouts designed to relieve pressure on sensitive areas.
Getting the Saddle Height Right
Height is another critical factor. To find the ideal saddle height, sit on the saddle and place your heel on the pedal. When your pedal is at the lowest point, your leg should be straight. It sounds simple, but this adjustment can dramatically improve your pedaling efficiency.
Final Touches: Bar and Saddle Angles
Fine-Tuning Angles
After you have the primary adjustments down, it’s time to get particular with bar and saddle angles. Your cockpit should feel just right when it comes to the angle at which you hold your handlebars and how your saddle tilts.
For the handlebars, a slight upward tilt can relieve pressure on your wrists if you tend to ride aggressively. Meanwhile, your saddle should be level or have a slight downward tilt. A saddle pointing upwards can lead to discomfort, and no one wants that during a ride.
Testing It Out
Take your bike for a spin once you make these adjustments. Pay attention to how you feel. If something feels off, don’t be afraid to tweak it again. Sometimes, a small adjustment can have major impacts.
Conclusion: Enjoying the Ride
Ultimately, dialing in your MTB cockpit for comfort and control is about experimentation and finding what works best for you. Don’t rush the process. Getting everything just right can take a bit of time, but your future self will definitely thank you when you’re zipping through trails with a smile on your face instead of grimacing in pain.
Remember, every rider is different, and what works for your buddy might not work for you. So get out there, make those adjustments, and most importantly, enjoy the ride. Happy trails!


