Why Cleaning Your Mountain Bike Is Important
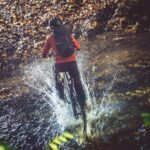
If you’ve just tackled a muddy trail, your bike might look more like a swamp creature than a mountain bike. While it can be tempting to leave it for another day, cleaning your bike after a messy ride is crucial. Not only does it keep your bike looking good, but more importantly, it helps maintain its performance and longevity.
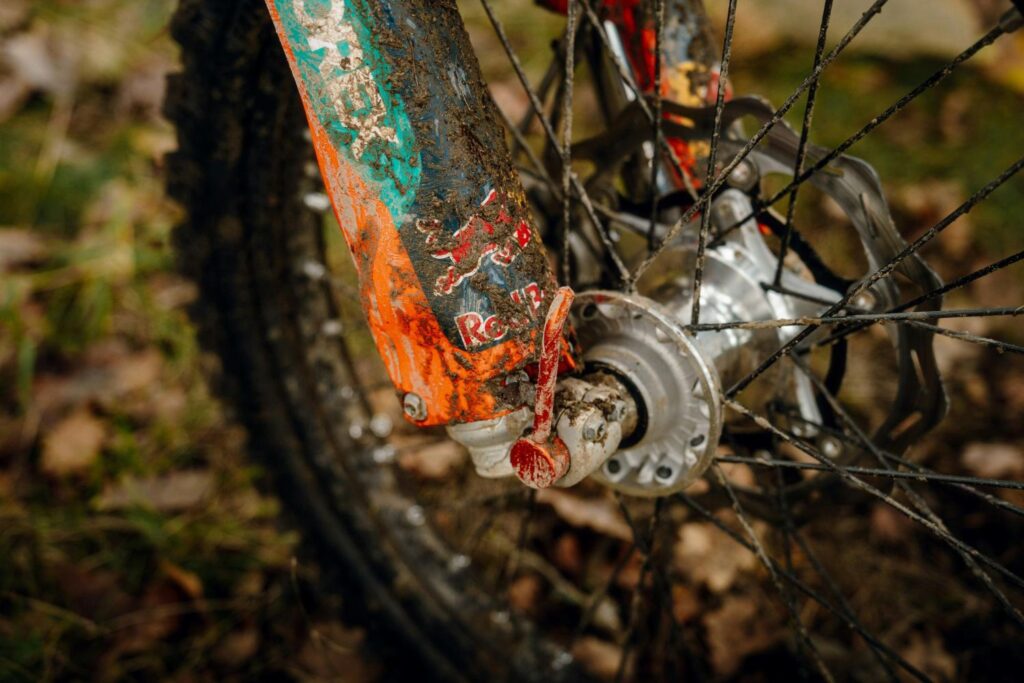
Muddy conditions can introduce a host of issues, from clogged components to rust. So, taking a little time to clean your bike can save you some serious cash on repairs down the road. Plus, there’s something incredibly satisfying about a shiny, well-maintained bike.
Gathering Your Cleaning Supplies
What You’ll Need
Before you dive into the cleaning process, gather your supplies. It’s always good to have everything in one place. Here’s a quick checklist:
- Bucket for soapy water
- Degreaser (bike-specific is best)
- Soft sponge or cloth
- Stiff brush for tough spots
- Chain cleaner tool
- Garden hose or a pressure washer (on low)
- Lubricant for the chain
- Old toothbrush for tight spots
- Shop towels or rags
Having these items ready to go will help streamline your cleaning session. Trust me, the less time you spend hunting for supplies, the better.
Step-by-Step Cleaning Process
Step 1: Rinse the Bike
Start with a gentle rinse to remove loose dirt and mud. Using a garden hose or a pressure washer on low pressure, spray down your bike, focusing on the tires, frame, and drivetrain. Be cautious with high-pressure settings, especially around sensitive components like bearings and seals. You don’t want to blast water where it shouldn’t go.
Step 2: Prepare Soapy Water
Fill a bucket with warm water and add a mild soap specifically designed for bike cleaning. Avoid dish soap, as it can strip away protective coatings on your bike frame. Grab your sponge or cloth and get ready for some sudsy action!
Step 3: Clean the Frame and Components
With your soapy sponge, start wiping down the frame. Make sure to get into the nooks and crannies to dislodge any remaining grime. You’ll be surprised at how much dirt hides in places you wouldn’t expect. If you encounter stubborn mud, switch to your stiff brush for some extra scrubbing power.
Step 4: Focus on the Drivetrain
Next up is the drivetrain, which includes the chain, cassette, and derailleurs. This area tends to collect the most gunk, and if it gets too dirty, you’ll notice that your gears start slipping. Grab your degreaser and get the chain cleaner tool. Apply the degreaser to the chain and let it sit for a minute. Then use the chain cleaner tool to scrub it down.
For the cassette and derailleurs, an old toothbrush works wonders. Just remember to be gentle; you want to clean, not dislodge any parts. Doing this will improve the shifting and overall performance of your bike.
Step 5: Rinse Again
After scrubbing down the bike and drivetrain, rinse it off again, making sure to wash away any soap or degreaser residue. This step is essential. Leftover soap can lead to further grime build-up later.
Step 6: Dry the Bike
Now that your bike is clean, it’s time to dry it off. Use shop towels or rags to wipe down the frame, tires, and components. Pay special attention to the areas where water tends to collect, like the bottom bracket and inside the frame. If moisture is left on the parts, particularly the chain, it can lead to rust. Yikes!
Step 7: Lubricate the Chain
After the bike is squeaky clean and completely dry, it’s essential to re-lubricate the chain. Use a bike-specific lubricator and apply it while slowly turning the pedals. This ensures an even coating. Once applied, let it sit for a couple of minutes, then wipe away any excess. If you don’t remove the excess, it can attract more dirt, and we do not want that!
Step 8: Final Inspection
Before you call it a day, don’t forget to do a quick inspection of the bike. Look for any loose bolts, check the tire pressure, and inspect the brakes. This small step can save you from potential issues when you take your bike out next.
Special Considerations
Cleaning After Different Conditions
Not every muddy ride is the same. Depending on the trail conditions, you might need to adjust your cleaning method.
- Wet and Muddy Trails: Be thorough with the scrub — mud can cause long-term damage if left. Focus on the drivetrain.
- Dusty Trails: A quick rinse might suffice, but never skip lubrication. Dust can wear down components.
- Sandy Trails: Sand gets everywhere. Make sure to clean and rinse thoroughly, especially the bearings.
What to Avoid
While cleaning is essential, there are some common pitfalls to avoid:
- Using high-pressure washers directly on bearings or seals.
- Soaking your bike in water — too much water can seep into places it shouldn’t.
- Cleaning products not designed for bikes, which can damage paint and finishes.
Storing Your Bike
Now that your bike is spotless, consider how you store it. Keeping your bike in a dry, cool place with minimal exposure to dirt will help maintain your hard work. A designated bike stand can prevent it from getting scratched or dinged when not in use.
Conclusion
Cleaning your mountain bike after a muddy ride doesn’t have to be a daunting task. With just a little time and the right tools, you can keep your bike in top shape and ready for your next adventure. Not only will it look great, but your bike will also perform at its best.
Plus, the satisfaction of seeing your clean bike gleaming in the sunlight? Totally worth it. Make cleaning a regular part of your biking routine, and your future self will thank you.